In order to help you impress even the grouchiest of food critics this Easter season, I tested popular Easter rolls in my own home, armed with nothing but fourth-grade level art skills and smug over-confidence. I’ll be the first to admit… I am NOT a baker. I did, however, win best open class cookie at my county fair in early high school with my top secret recipe (which was somehow leaked and subsequently printed onto the back of chocolate chip bags.) But baking cookies and baking with yeast are two totally different beasts. I used a dough made with half white whole wheat flour which was very versatile, perfect for shaping and packed with tasty whole grain goodness.
Easter Rolls Shapes
Chubby Bunnies
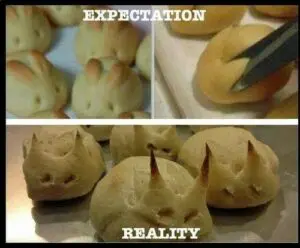
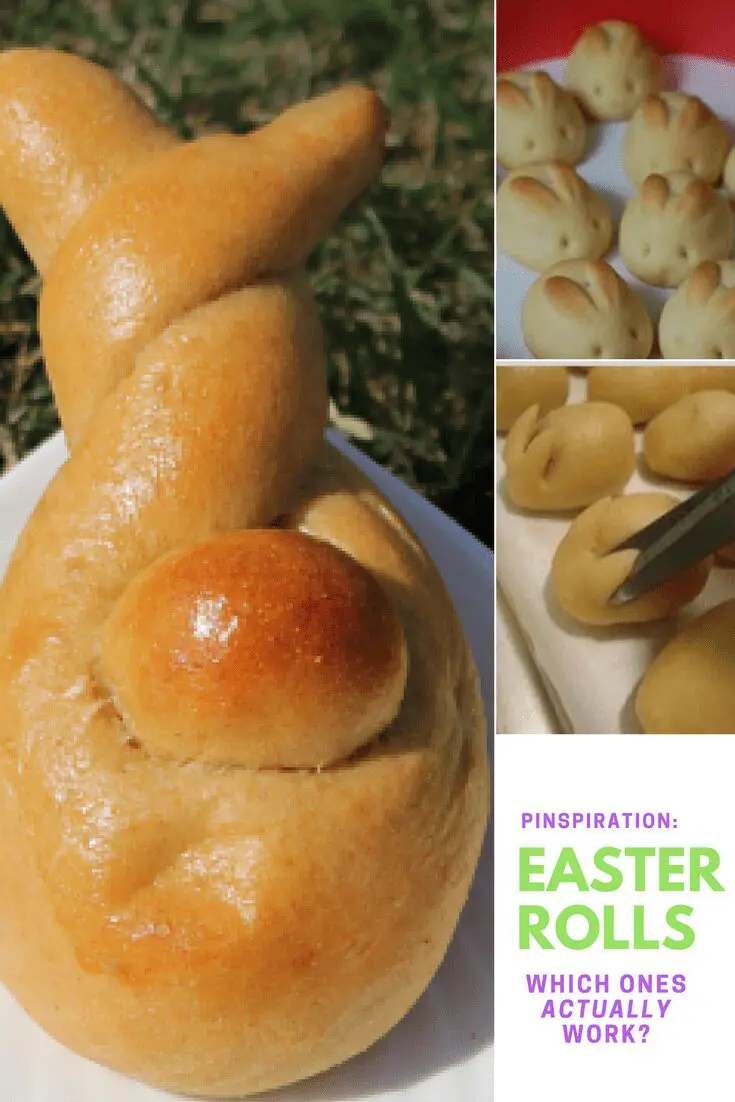
These look super easy right? Clip some ears, poke some eye holes and BAM! Adorable magic. Hold onto your Easter bonnets, because it turns out it’s a lot more difficult than you think.
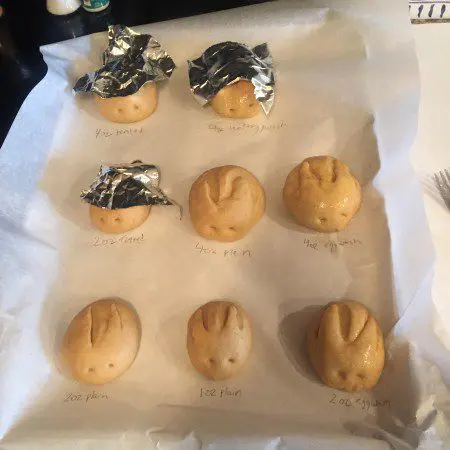
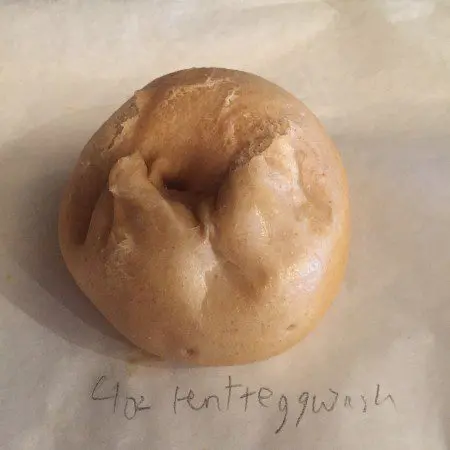
Here are my experimental bunnies. I tried several different sizes, experimented with egg wash and tenting loosely with aluminum foil. Spoiler alert: don’t egg wash and tent. Bad idea, unless you are aiming to get a bunny that looks a bit like Sloth from The Goonies.

If you would like to give this shape a try, I would recommend working with a two-ounce ball of dough. Four-ounces is too big and forms a very chubby bunny, and one-ounce is pretty small. Even though I never really found specific directions for this shape, I watched a Youtube video that specified letting the bunny proof a bit after snipping. I followed these directions, but when I brought the bunnies in to show the experts the next morning, they suggested snipping the dough right before the pan of bunnies go into the oven. Also, don’t bother with tenting, it really didn’t do much of anything.
When making your cuts, ignore the pretty little snip that’s shown in the photo. I would recommend cutting a ¼” to form the ear. When you think you are cutting in too deep, cut a bit further. This gives a nice, full ear and prevents this from happening.
Definitive Ranking
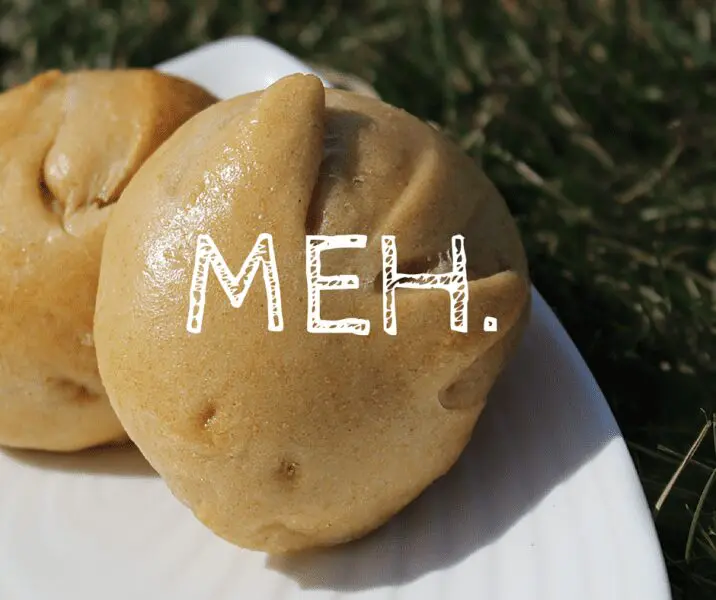
When these turn out, they are kind of cute. But consistency is next to impossible, and, even though I created quite a few, I still can’t tell you exactly what the best way to do it is. This is a very challenging shape, so if you attempt it, be sure and practice several times beforehand… Or at least have some extra dough.
Curlicue Bunny
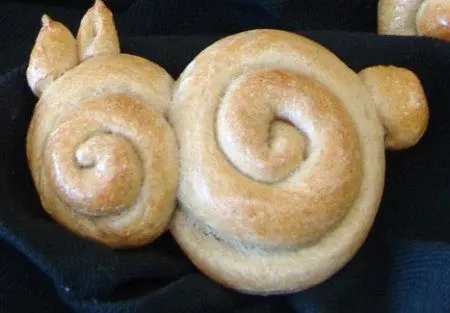
Pictured above is the Curlicue Bunny created by Cindy Falk, our resident expert bread shaper. You can find the actual directions for it here. I really enjoyed making this little guy. There’s something that I love about rolling out dough into ropes, which I think stems back to the hours and hours spent with Play Dough.
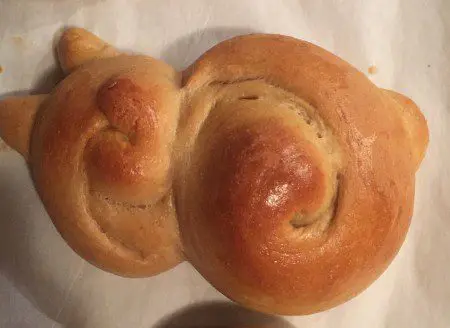
This is how mine turned out. It’s not as bad as I expected. I think I might have over-proofed it a bit since my curls aren’t as defined as Cindy’s, but even like this it isn’t a bad shape. If I could do it over again, I would elongate the ears a bit more (they shrank quite a bit in the oven) and give it a fluffier tail.
Definitive Ranking
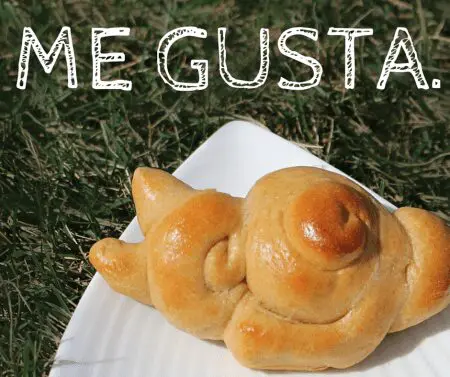
I like this shape. I think for someone who is a little craftier than I, it could turn out to be a really nice product. Click here for instructions.
Twist Bunny
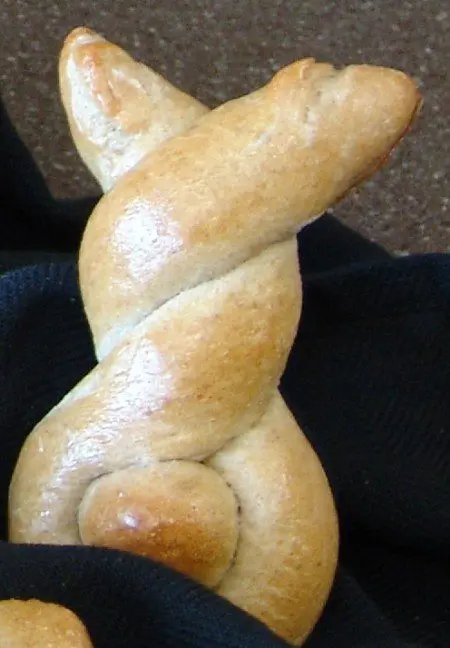
This Twist Bunny again was created by Cindy Falk. It’s a little bit more abstract than the other shapes, but I think that it totally works. Click here for the detailed instructions on how to make them. This shape was a dream come true for me. It’s something that looks fancy, but in reality is pretty simple to make. This, by far, was my favorite shape.
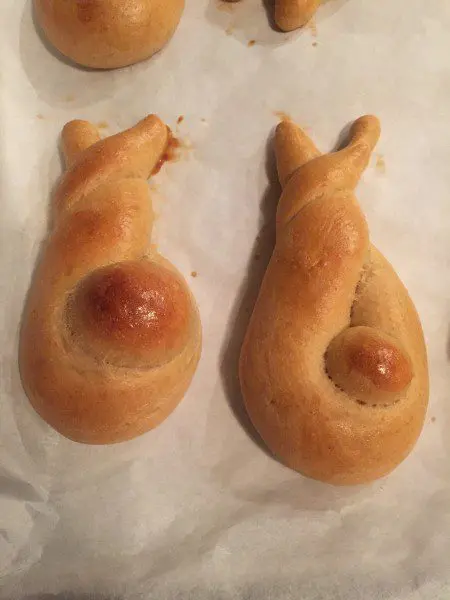
Here are two of my creations with different sized tails. As you can tell, it really is all about that bass. I prefer the bigger, fuller tail, but everyone is entitled to their opinion (even if it’s wrong.) A tip that I learned from Cindy is that she likes to make the rabbit out of the whole wheat dough and then use white dough for the tail to set it apart!
Definitive Ranking

For me, this shape allowed me to take baby steps into the bread shaping world without fully committing. It’s easy to produce, you can definitely do it as a family activity with your kids and it looks great. Click here for directions.
Author: Jordan Hildebrand