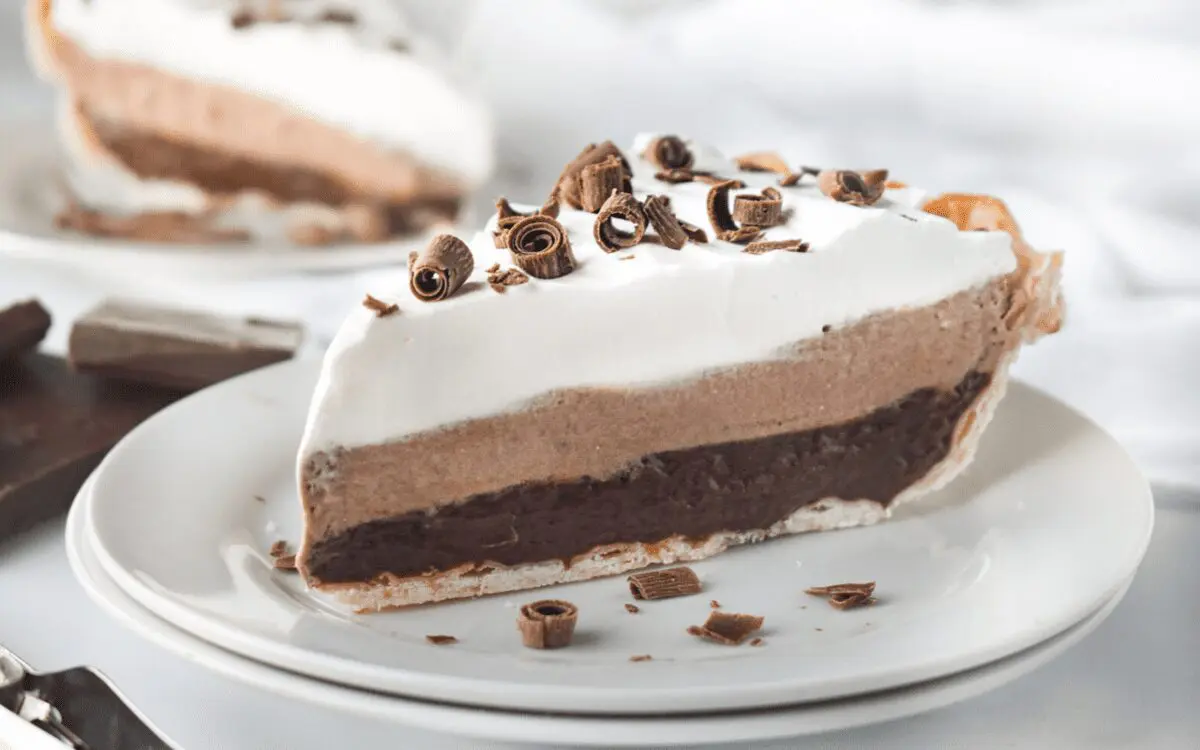
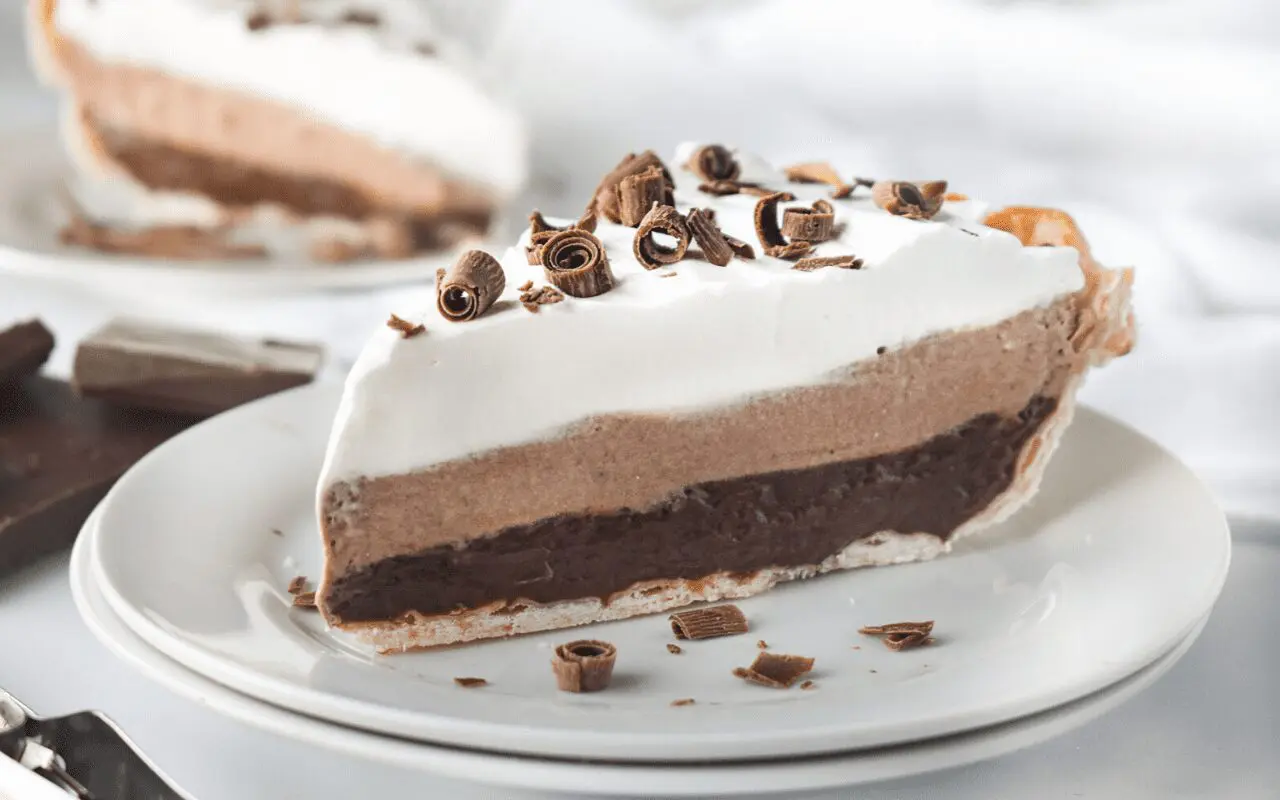
Layered Chocolate Pudding Pie
Prep Time 20 minutes minutes
Total Time 20 minutes minutes
Servings 8
Baking Temp According to package
Equipment
- 9-inch pie pan
- Wire whisk or electric mixer
- Vegetable peeler, if desired
Ingredients
- 1 9-inch refrigerated pie crust (or try Mom's Favorite Pie Crust)
- 1 large box (5.85-ounce) chocolate instant pudding & pie filling
- 2 ½ cups whole milk
- 1 8-ounce tub whipped topping
- 1 1.55 oz milk or dark chocolate bar for shaving, if desired
Instructions
For the pie
- Follow directions on the pie crust package to bake the pie shell. It is important to generously prick the bottom and sides of the shell with a fork prior to baking.
- Allow crust to cool completely before proceeding.
- Pour 2 ½ cups cold milk into a bowl. Add the pudding mix and beat until well blended with a wire whisk or an electric mixer on medium-low speed.
- Pour half of the chocolate pudding into the pie shell for the first layer.
- To the remaining pudding, add half of the whipped topping. Gently stir together until well blended. Layer this mixture over the chocolate pudding in the pie shell for the second layer.
- Spread the remaining whipped topping over the top, creating the third layer.
- If desired, use a vegetable peeler to create chocolate curls with the chocolate bar, for decoration.
- Chill pie at least 1 hour before enjoying it.
Notes
Depending on the size and depth of pie pan you use, you may have extra pudding or whipped topping. You can serve the extra in dessert cups.
Instead of chocolate shavings, you can also sprinkle the top with mini chocolate chips or chocolate sprinkles, or you can drizzle the top with chocolate syrup.
A graham cracker or chocolate cookie crust can also be substituted, but I prefer a classic pie crust for this pie.
NUTRITION INFORMATION PER SERVING (1 SLICE, 197g):
340 calories, 130 calories from fat, 15g total fat, 9g saturated fat, 0g trans fat, 15mg cholesterol, 510mg sodium, 44g total carbohydrate, 2g dietary fiber, 3g sugars, 6g protein, 21mcg folate, 1mg vitamin C, 1mg iron.
View More Dessert Recipes
Subscribe to Our Newsletter
Stay up-to-date with everything wheat! Get useful tips, delicious recipes, health benefits, and the latest news about farming, straight to your inbox. Join our community today!

